Configuration
Rock can be configured through a configuration object that defines various aspects of your project setup.
The most basic configuration would, assuming you only support iOS platform and choose Metro as our bundler, would look like this:
It's intentional design decision to explicitly define platforms, bundlers etc, so you can e.g. add more platforms, or replace a bundler with a different one.
All Configuration Options
Plugins
A plugin is a partially applied function that has access to api object of PluginApi type:
The following configuration options accept plugins: plugins, platforms, bundler.
A plugin that registers my-command command outputing a hello world would look like this:
Bundler
Bundler is a plugin that registers commands for running a dev server and bundling final JavaScript or Hermes bytecode.
By default, Rock ships with two bundler: Metro (@rock-js/plugin-metro) and Re.Pack (@rock-js/plugin-repack).
You can configure the bundler like this:
Metro Configuration
Rock uses sensible defaults from @react-native/metro-config, so you don't need a metro.config.js file for most projects. The bundler works out of the box.
Customizing Metro
If you need to customize Metro (e.g., add asset extensions, configure transformers, or set up a monorepo), create a metro.config.js file in your project root:
Common Customizations
Adding File Extensions
Monorepo Setup
For monorepo projects, you'll need to configure Metro to watch additional directories:
Blocking Specific Paths
API Reference
getDefaultConfig(projectRoot)
Returns the default Metro configuration. Re-exported from @react-native/metro-config.
- projectRoot (
string): The root directory of your project (usually__dirname) - Returns:
MetroConfigobject
mergeConfig(baseConfig, overrideConfig)
Merges two Metro configurations together. Re-exported from metro-config.
- baseConfig (
MetroConfig): The base configuration - overrideConfig (
InputConfig): Configuration to merge on top - Returns: Merged
MetroConfig
Platforms
Platform is a plugin that registers platform-specific functionality such as commands to build the project and run it on a device or simulator.
By default, Rock ships with two platforms: iOS (@rock-js/platform-ios) and Android (@rock-js/platform-android).
You can configure the platform like this:
Remote Cache Configuration
One of the key features of Rock is remote build caching to speed up your development workflow. By remote cache we mean native build artifacts (e.g. APK, or IPA binaries), which are discoverable by the user and available for download. Remote cache can live on any static storage provider, such as S3, R2, or GitHub Artifacts. For Rock to know how and where to access this cache, you'll need to define remoteCacheProvider, which can be either bundled with the framework (such as the one for GitHub Actions) or a custom one that you can provide.
When remoteCacheProvider is set, the CLI will:
- Look at local cache under
.rock/directory for builds downloaded from a remote cache. - If not found, it will look for a remote build matching your local native project state (a fingerprint).
- If not found, it will fall back to local build.
Available providers you can use:
- @rock-js/provider-github: store artifacts on GitHub Workflow Artifacts
- @rock-js/provider-s3: store artifacts on S3 (or Cloudflare R2)
In case you would like to store native build artifacts in a different kind of remote storage, you can implement your own custom provider.
Uploading artifacts to remote storage
Regardless of remote cache provider set, to download native build artifats from a remote storage, you'll need to upload them first, ideally in a continuous manner. That's why the best place to put the upload logic would be your Continuous Integration server.
Rock provides out-of-the-box GitHub Actions for:
callstackincubator/ios: action for iOS compatible with@rock-js/provider-githubcallstackincubator/android: action for Android compatible with@rock-js/provider-github
For other CI providers you'll need to manage artifacts yourself. We recommend mimicking the GitHub Actions setup on your CI server.
GitHub Actions provider
If you store your code on GitHub, one of the easiest way to setup remote cache is through @rock-js/provider-github and our GitHub Actions, which will manage building, uploading and downloading your native artifacts for iOS and Android.
You can configure it as follows:
GitHub provider requires a valid GitHub Personal Access Token to fetch remote cache. Typically, you'll use .env file to store your GitHub Personal Access Token as GITHUB_TOKEN, next to other project secrets securely, not exposing it to the public.
In case you use a different env variable, you can pass it as a token argument to the providerGitHub function.
GitHub Provider Options
AWS S3 provider
If you prefer to store native build artifacts on AWS S3 or Cloudflare R2, you can use @rock-js/provider-s3. You can configure it as follows.
S3 provider requires a valid AWS Access Key ID and Secret Access Key to fetch remote cache. Typically, you'll use .env file to store your AWS Access Key ID and Secret Access Key as AWS_ACCESS_KEY_ID and AWS_SECRET_ACCESS_KEY, next to other project secrets securely, not exposing it to the public.
In case you use a different env variable, you can pass it as a accessKeyId and secretAccessKey arguments to the providerS3 function.
S3 Provider Options
Authentication Methods
The S3 provider supports multiple authentication methods through the underlying AWS SDK:
- Environment variables: Set
AWS_ACCESS_KEY_ID,AWS_SECRET_ACCESS_KEY, and optionallyAWS_SESSION_TOKENfor temporary credentials - IAM roles: When running on EC2, ECS, or Lambda, the SDK automatically uses the instance/task/function role
- AWS credentials file: Use
~/.aws/credentialswith theprofileoption - Role assumption: Use
roleArnto assume a different role, optionally withprofileas source credentials - Temporary credentials: Set
AWS_SESSION_TOKENenvironment variable for temporary credentials - Public access: Set
publicAccess: trueto explicitly disable request signing and access public S3 buckets without authentication
Cloudflare R2
Thanks to R2 interface being compatible with S3, you can store and retrieve your native build artifacts from Cloudflare R2 storage using S3 provider. Set the endpoint option to point to your account storage.
Private bucket with public read access
For specific scenarios, you may want to restrict upload access to CI while allowing developers to fetch artifacts without credentials. This requires setting object-level ACL on uploads and using public URLs for downloads.
Configure both acl: 'public-read' (applied during uploads on CI) and publicAccess: true (enables public URL downloads when credentials are unavailable):
Community providers
If you're not using GitHub, or can't store artifacts on S3 bucket, you can try one of the available community providers, which often come with ready-to-use CI workflow setup.
GitLab Provider
The @congtuandevmobile/react-native-cache-build-gitlab project provides support for GitLab CI/CD artifacts as a remote cache provider. This package allows you to use GitLab Package Registry to store and retrieve native build artifacts (iOS & Android).
Custom remote cache provider
You can plug in any remote storage by implementing the RemoteBuildCache interface. This section explains how to implement each method and handle the complexity that Rock manages for you.
Interface
Your provider must implement:
list
Return a list of artifacts with at least name and a downloadable url. Optionally add an id.
The artifacts are uploaded as ZIP archives (excluding ad-hoc scenario), so make sure to append the .zip suffix to the artifactName.
Example (S3-style): prefix-filter objects and convert each to { name, url }. Signed URLs are fine.
download
Return a Web Response whose body is a readable stream of the artifact and (if available) a content-length header. Rock uses this to report download progress.
The artifacts are uploaded as ZIP archives (excluding ad-hoc scenario), so make sure to append the .zip suffix to the artifactName.
If your SDK returns a Node stream, convert it to a Web stream and wrap in Response:
delete
Delete the requested artifact(s) and return the list of deleted entries: { name, url, id? }.
The artifacts are uploaded as ZIP archives (excluding ad-hoc scenario), so make sure to append the .zip suffix to the artifactName.
Respect skipLatest if your backend supports ordering/versioning, as it's used to clean up stale artifacts e.g. created in an open pull request. Otherwise you may simply delete the single matching object.
upload
Rock expects upload() to return metadata and a getResponse function:
getResponse(buffer, contentType?) => Response:- Rock calls this to initiate the upload and to surface upload progress
- It passes either:
- a
Buffer(for normal builds), or - a function
(baseUrl) => Buffer(for ad‑hoc pages) so you can inject absolute URLs into HTML/plist before upload
- a
- You should start the actual upload here and return a
Responseobject - Rock will read that stream to display progress
- for ad-hoc scenario
uploadwill pass theuploadArtifactNamevariable, so use that instead ofartifactName
For progress signaling, you can:
- Stream the original buffer in chunks, or
- Use your SDK's progress events (e.g. S3's
httpUploadProgress) to enqueue chunks proportional to actual bytes uploaded
Example (S3-like) using real SDK progress:
What ends up on the provider
-
Normal builds: Rock uploads a single build artifact (a ZIP archive). Your provider stores it at a path like
<directory>/<artifactName>.zip.- For iOS simulator builds (APP directory), Rock creates a temporary
app.tar.gzto preserve permissions and includes it in the artifact; you just receive the buffer viagetResponse. You don't need to create the tarball yourself.
- For iOS simulator builds (APP directory), Rock creates a temporary
-
Ad-hoc distribution:
- with
--ad-hocflag passed toremote-cache uploadRock uploads:- iOS: The signed IPA at
<directory>/ad-hoc/<artifactName>/<AppName>.ipa, anindex.htmllanding page, and amanifest.plistfile - Android: The signed APK at
<directory>/ad-hoc/<artifactName>/<AppName>.apkand anindex.htmllanding page
- iOS: The signed IPA at
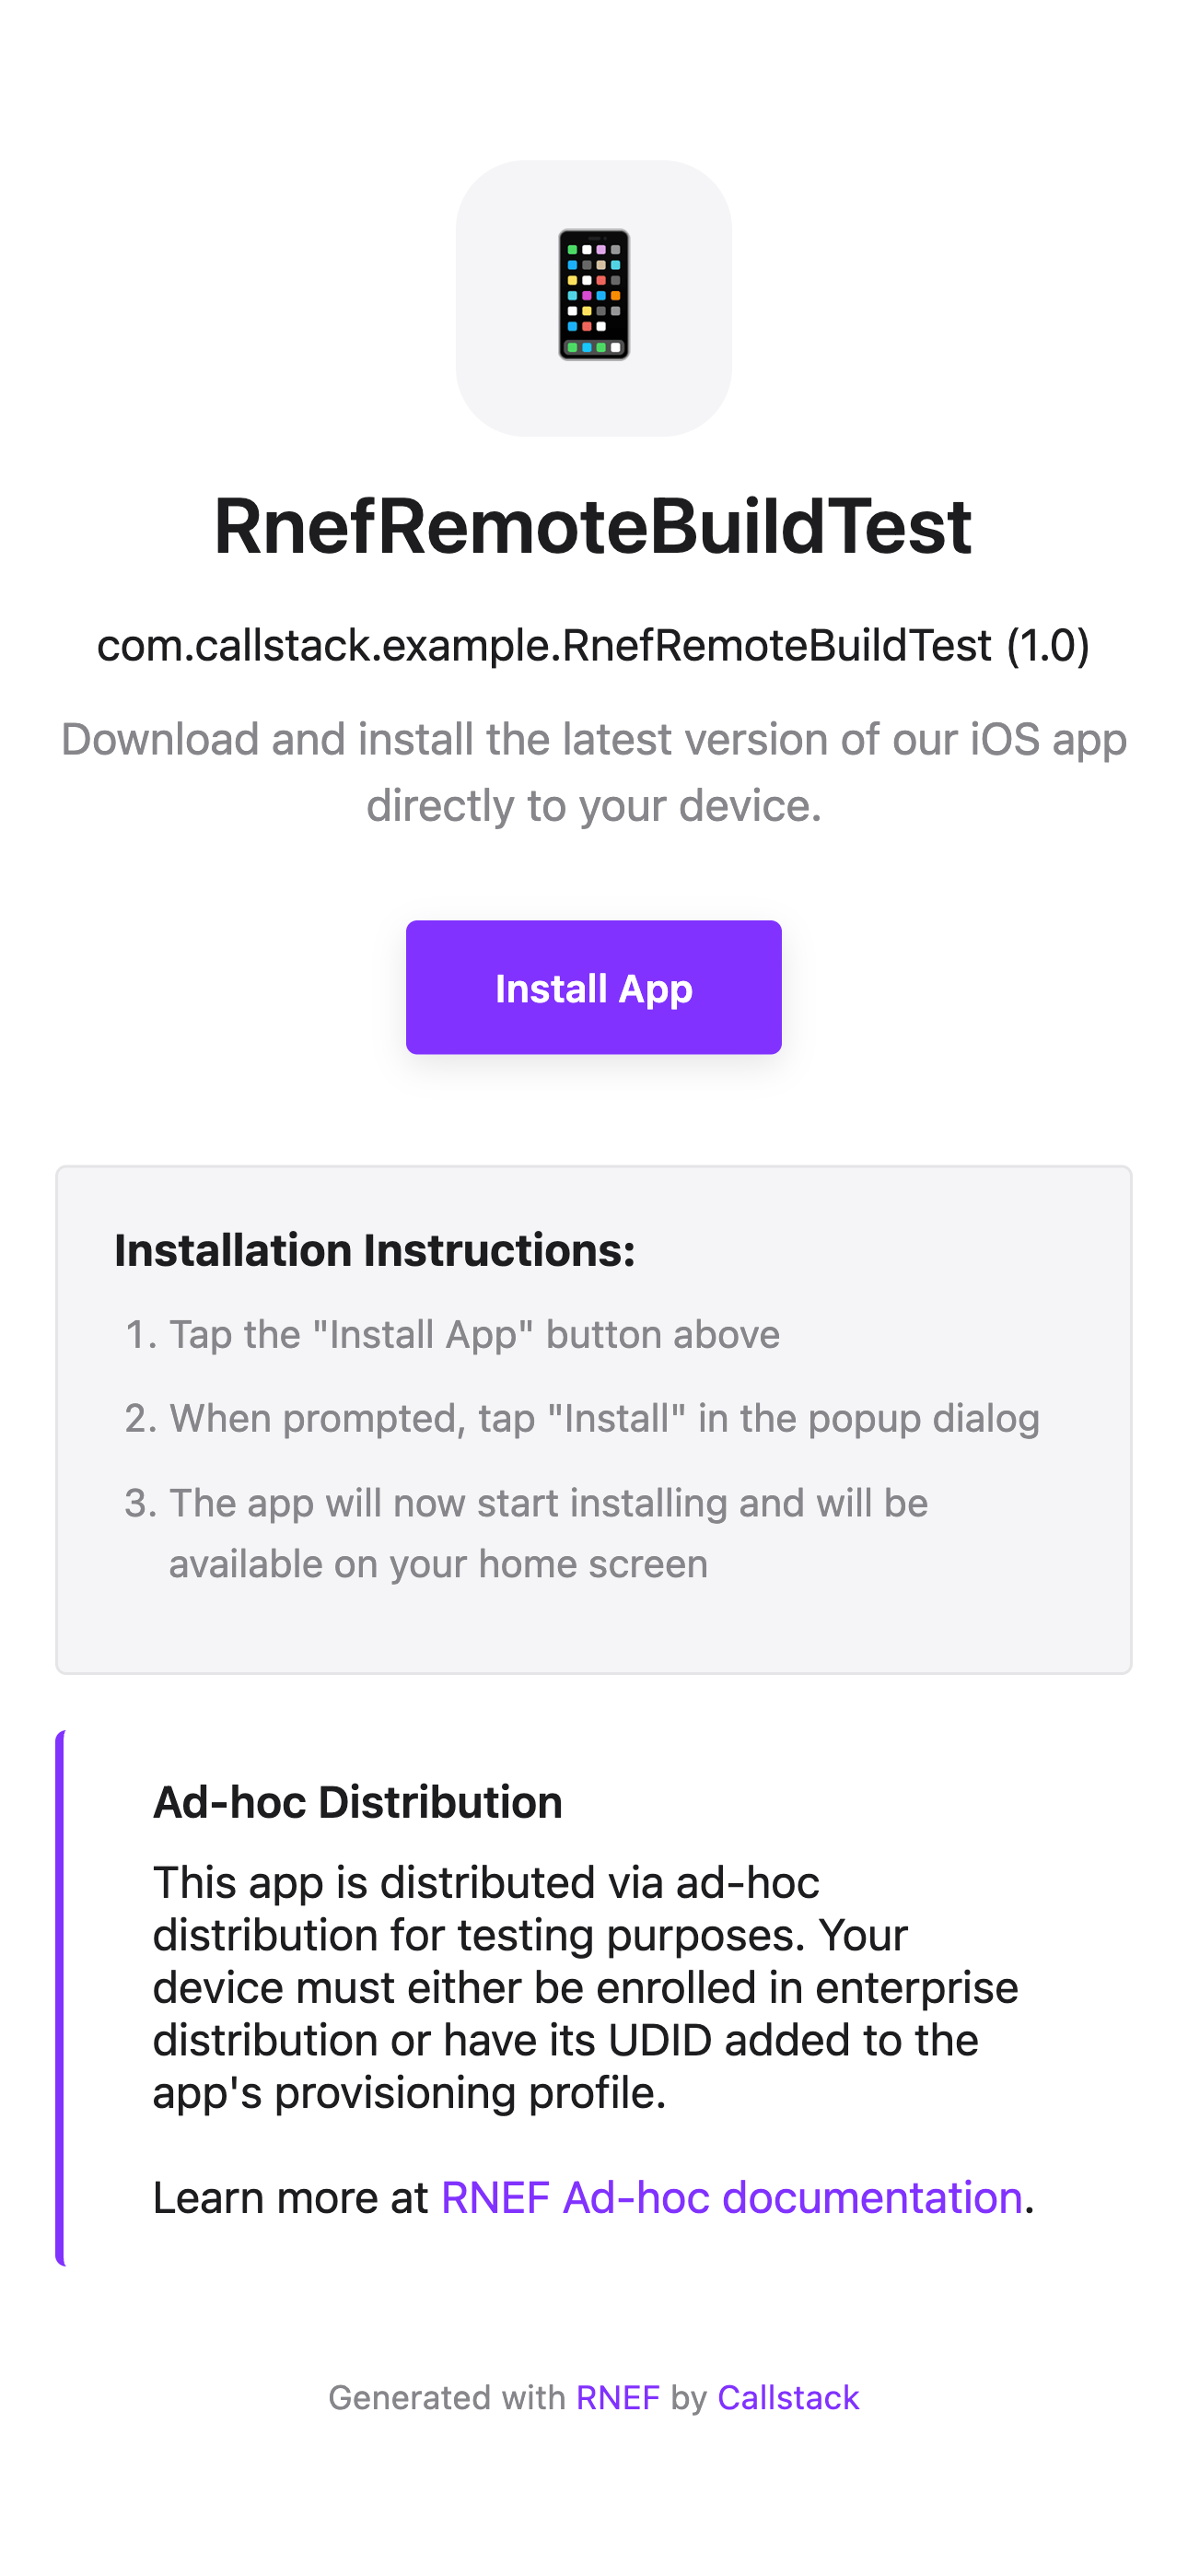
This
index.htmlfile will display an ad-hoc distribution web portal, allowing developers and testers to install apps on their devices by simply clicking "Install App" (iOS) or "Download APK" (Android).Learn more about ad-hoc distribution and how it works with
remote-cache upload --ad-hoccommand here.Ad-hoc distribution web portal Ad-hoc distribution web portal 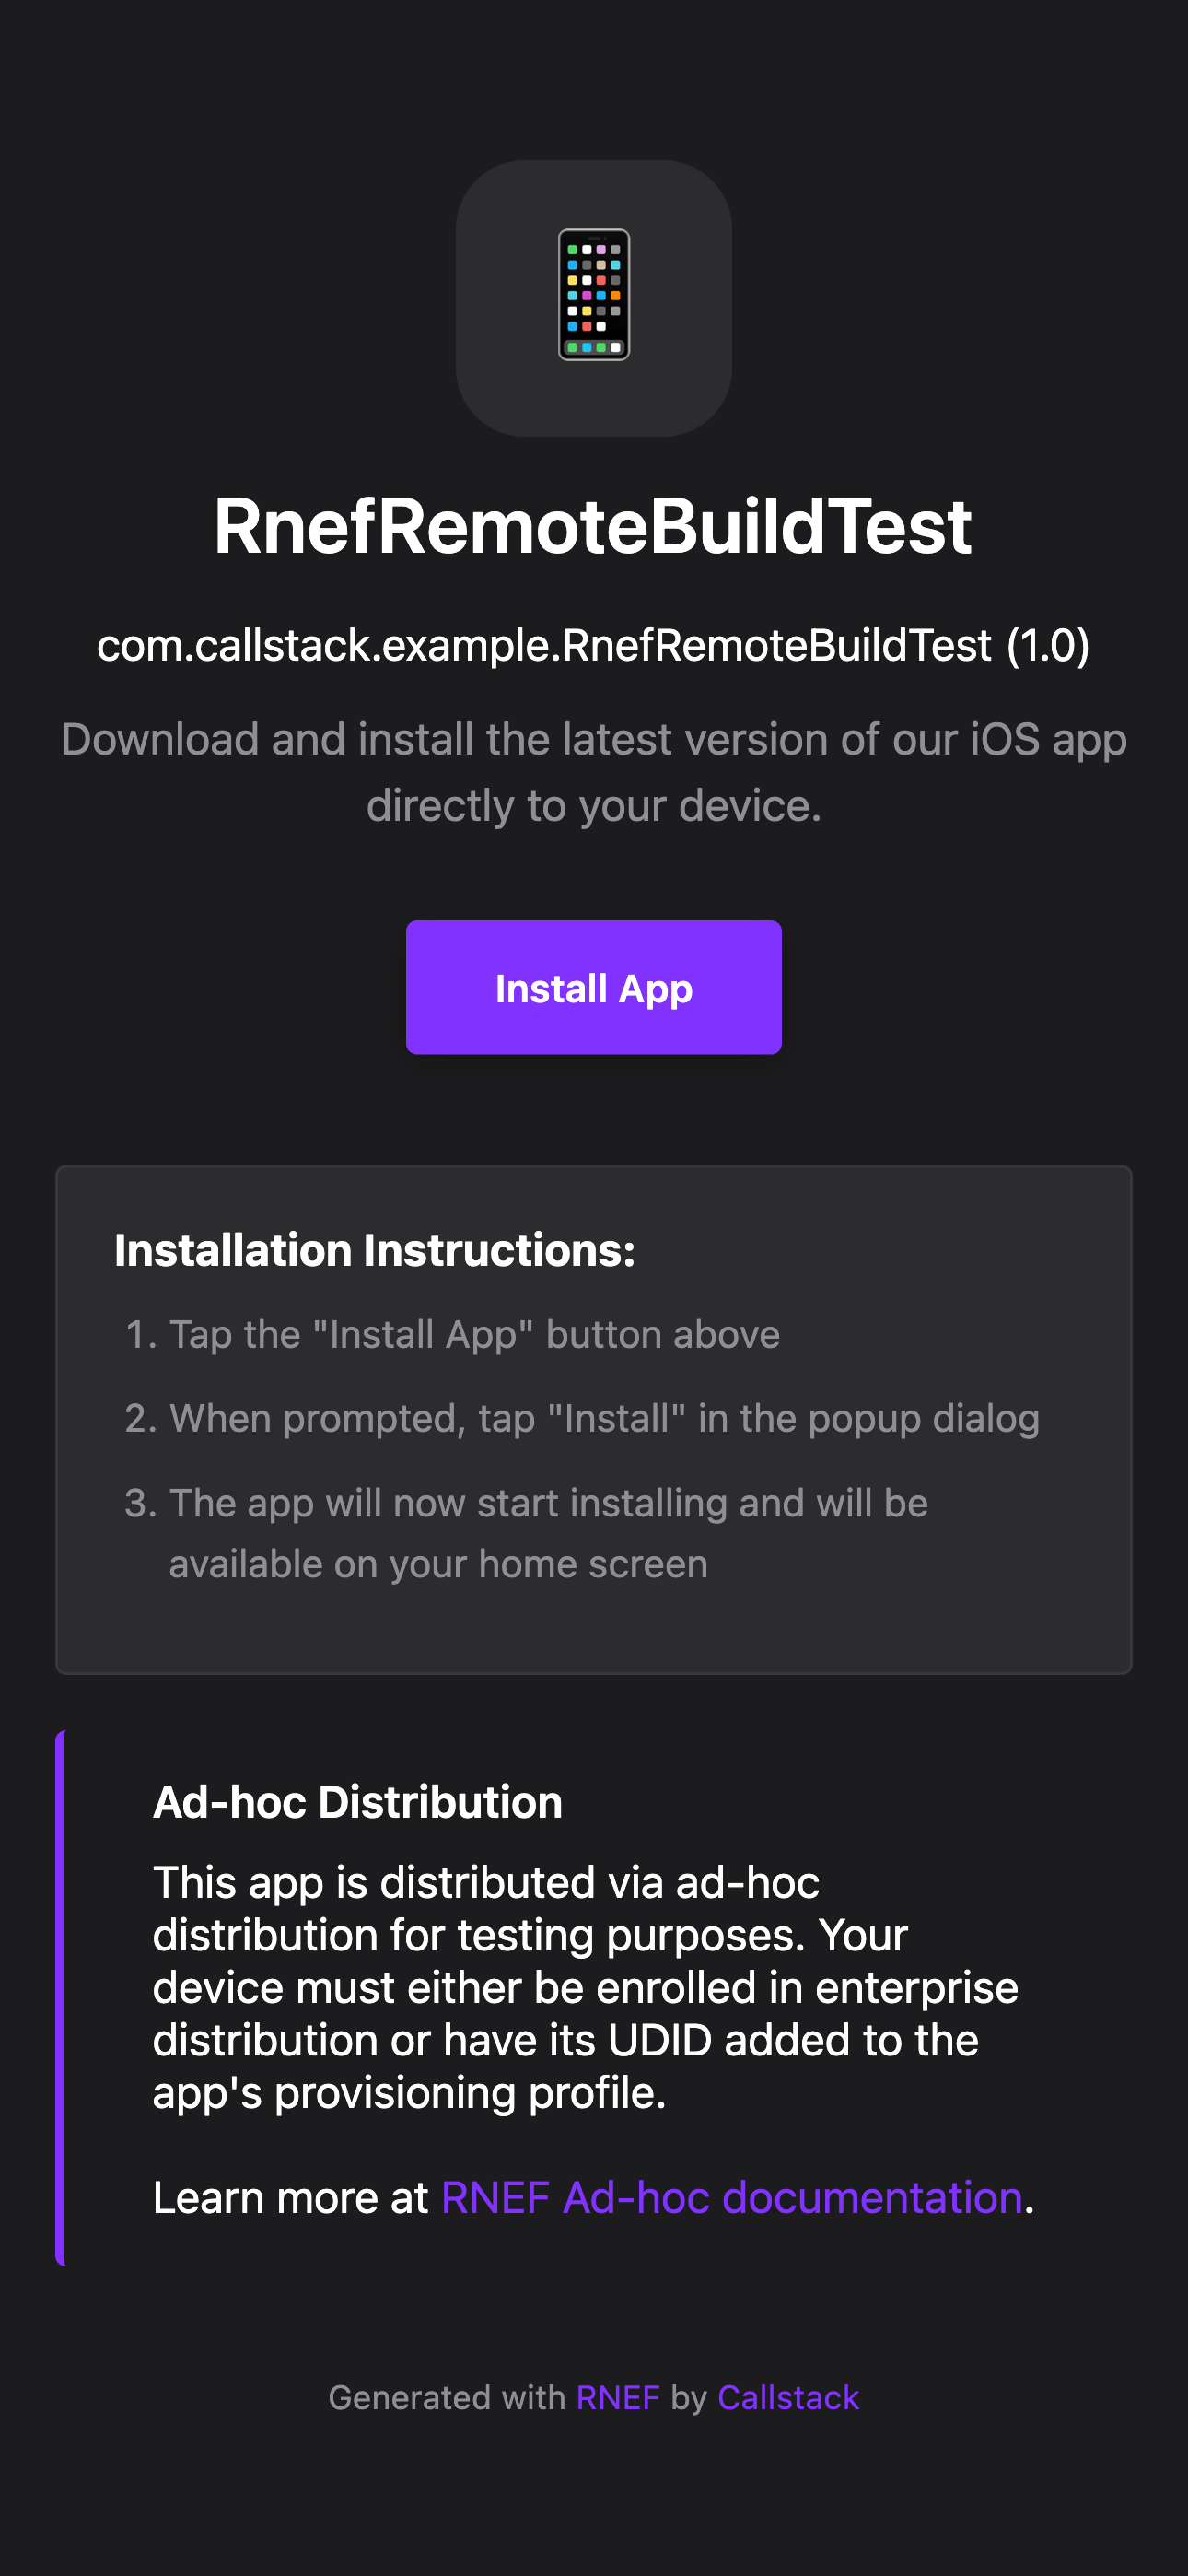
- with
Notes and tips
- If your backend cannot support uploads, throw in
upload()with a link to docs (as GitHub provider does). - Always return valid, downloadable
urls fromlist(); signed URLs are OK. - Prefer setting
content-lengthon both download and uploadResponseobjects so Rock can display progress. - For uploads, it's fine to start the SDK upload in the background; Rock drains the returned
Responseto show progress, and your SDK promise resolves independently. In tests, mock your SDK's upload to resolve quickly.
Example provider:
Then use it in your config:
Opt-out of remote cache
If you only want to use the CLI without the remote cache, and skip the steps 1. and 2. and a warning that you're not using a remote provider, you can disable this functionality by setting it to null:
Fingerprint Configuration
A fingerprint is a representation of your native project in a form of a hash (e.g. 378083de0c6e6bb6caf8fb72df658b0b26fb29ef). It's calculated every time the CLI is run. When a local fingerprint matches the one that's generated on a remote server, we have a match and can download the project for you instead of building it locally.
The fingerprint configuration helps determine when builds should be cached and invalidated in non-standard settings:
extraSources: when you have git submodules in your projectignorePaths: custom directories that are not relevant for the native build stateenv: names of environment variables that should affect the fingerprint
When you configure env, pass the environment variable names, not their resolved values. Rock reads each name from process.env when calculating the fingerprint.